“The Edit” is a series I want to start on this blog after every serious shoot. For short, what I want to do with this is explain what I did after I captured the images. From Lightroom adjustments to Photoshop layers, I’ll try to expose them all.
So, these being said, let’s start!
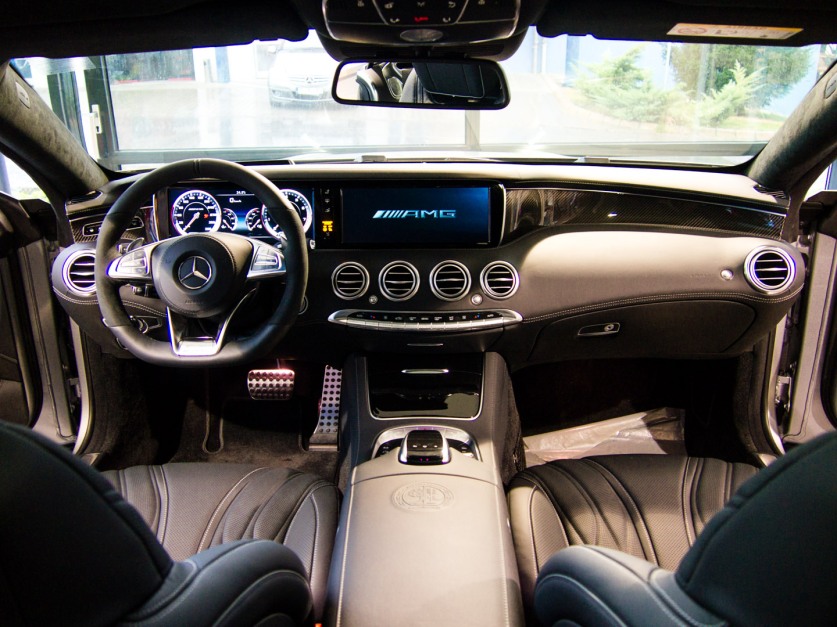
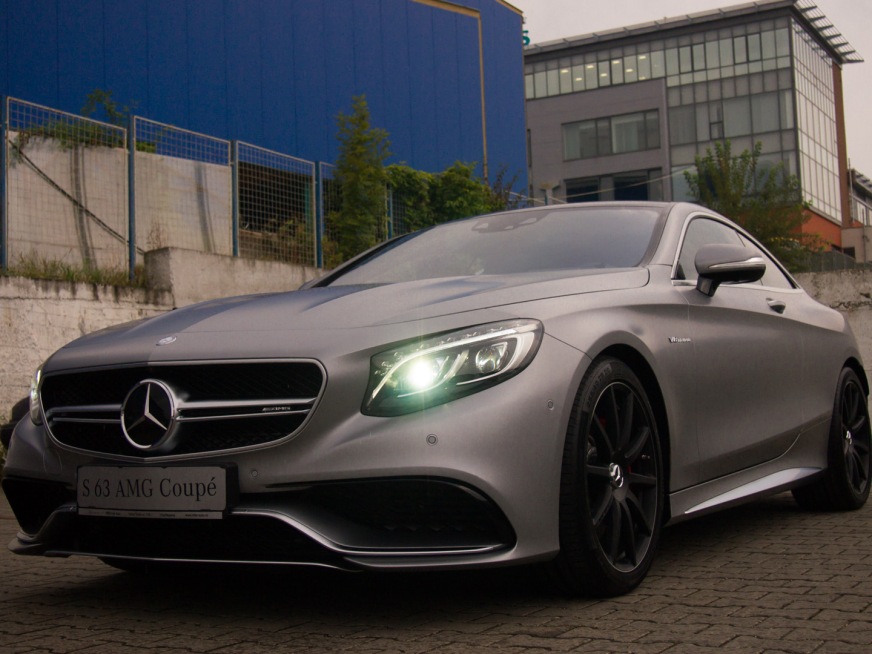
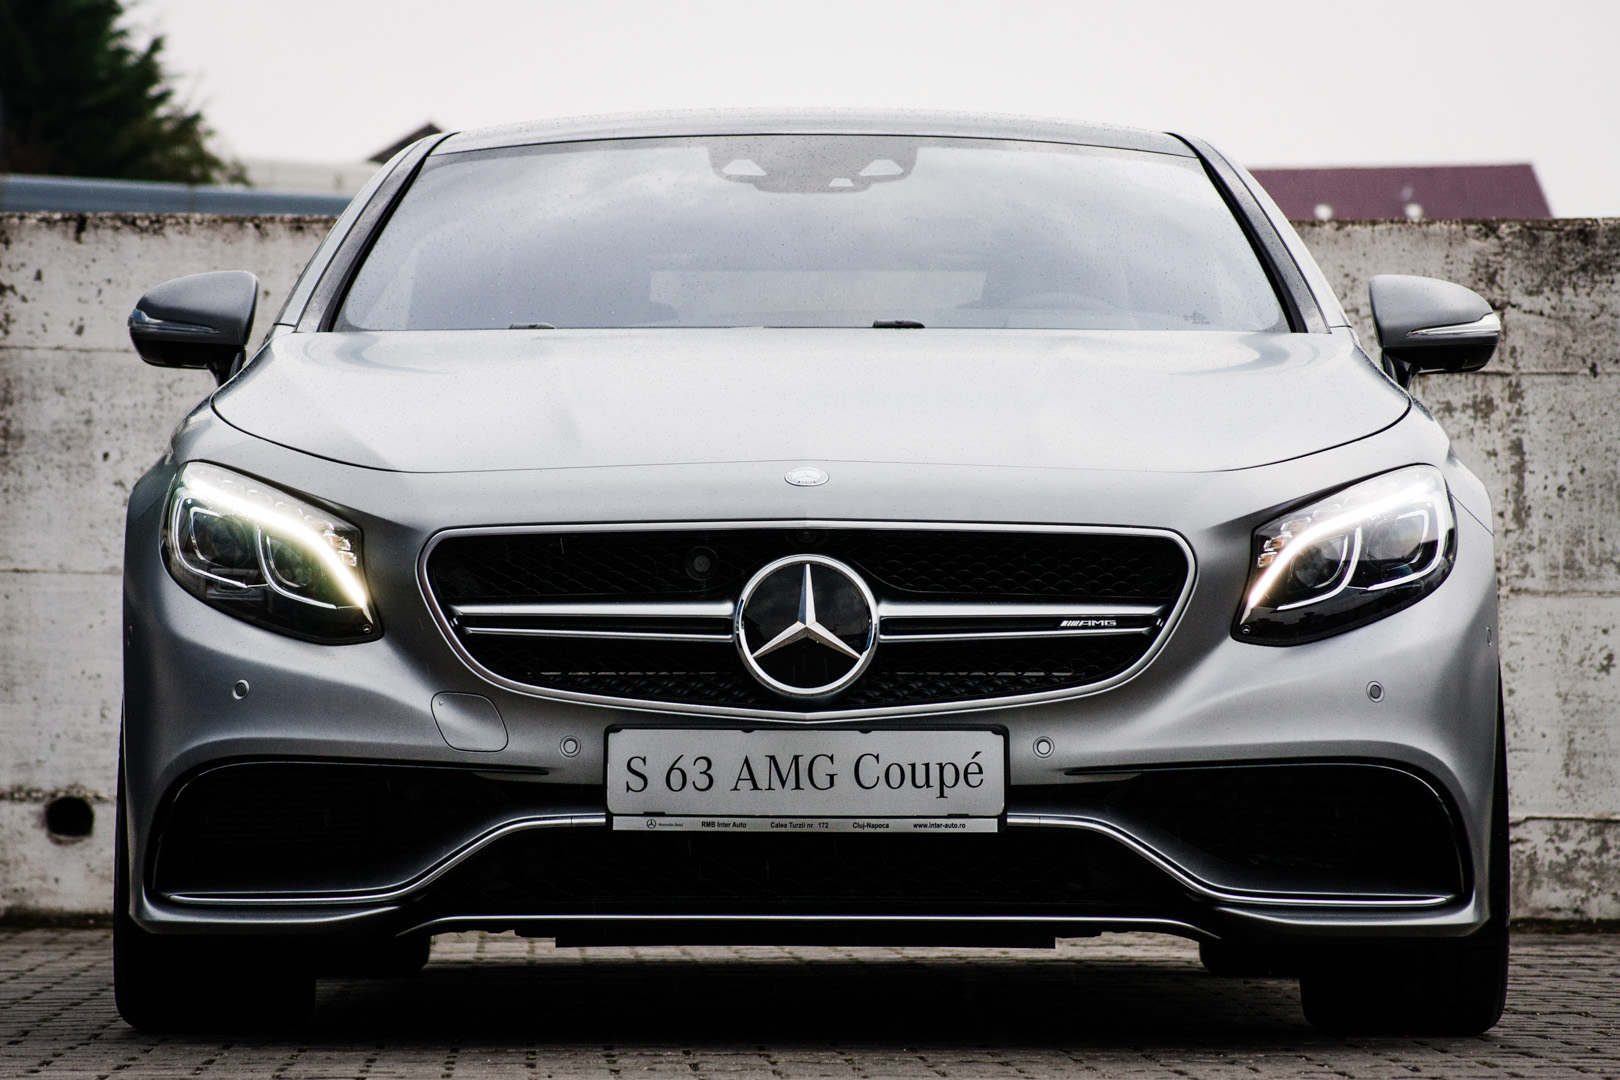
BEFORE
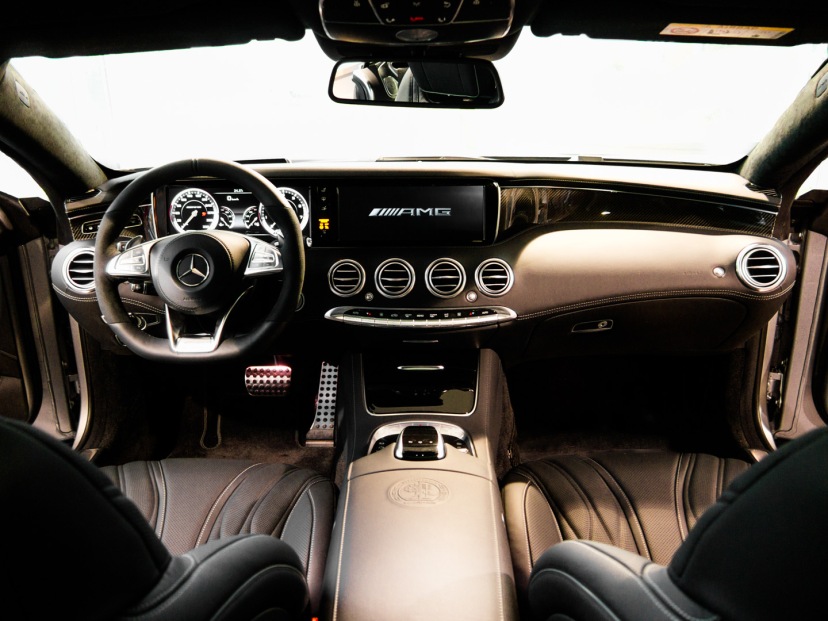
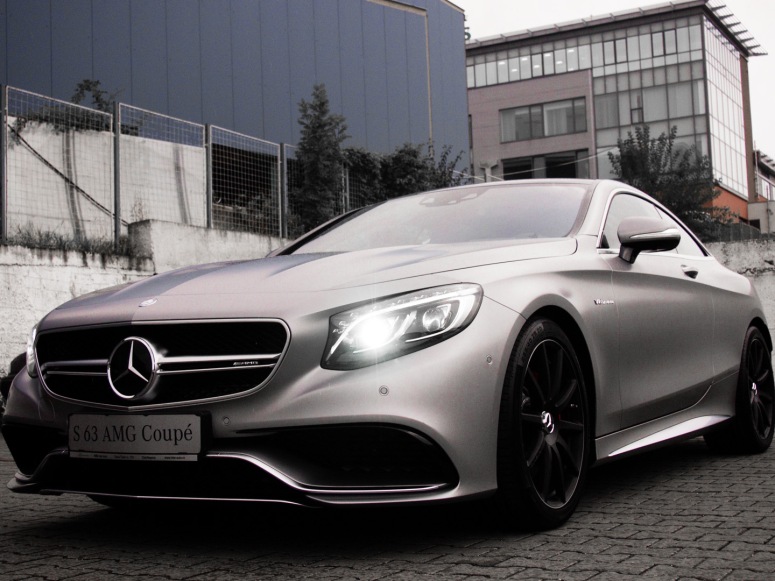
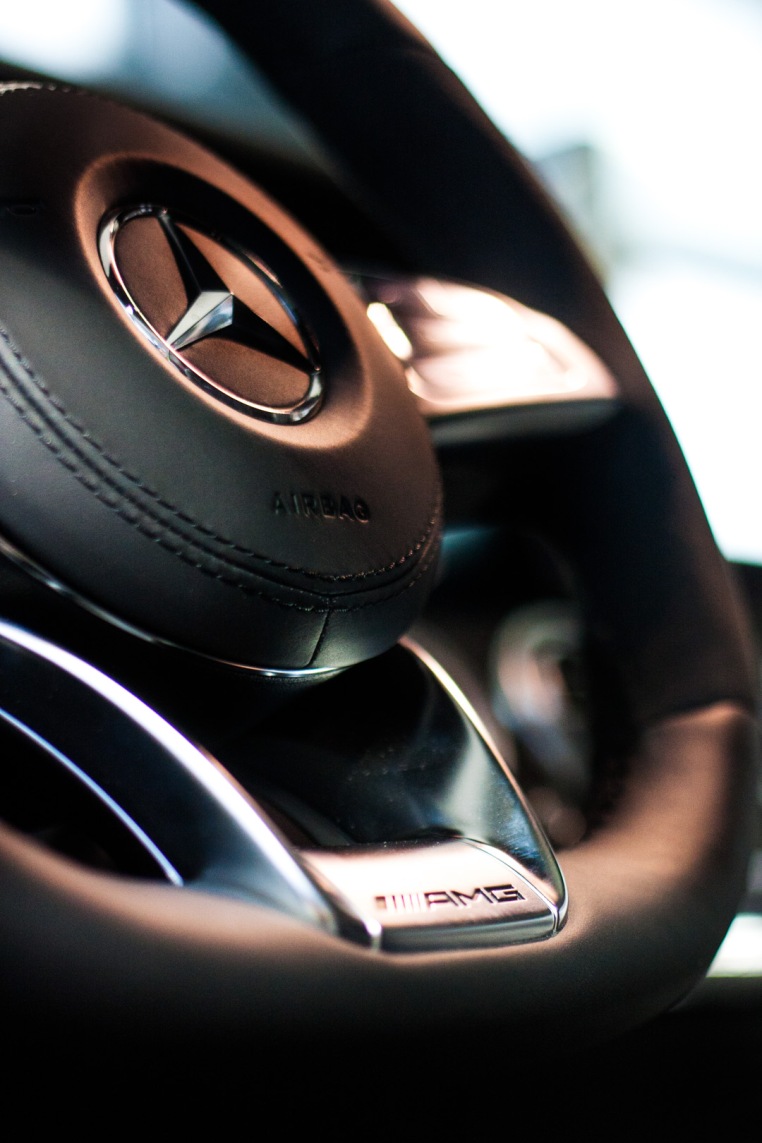
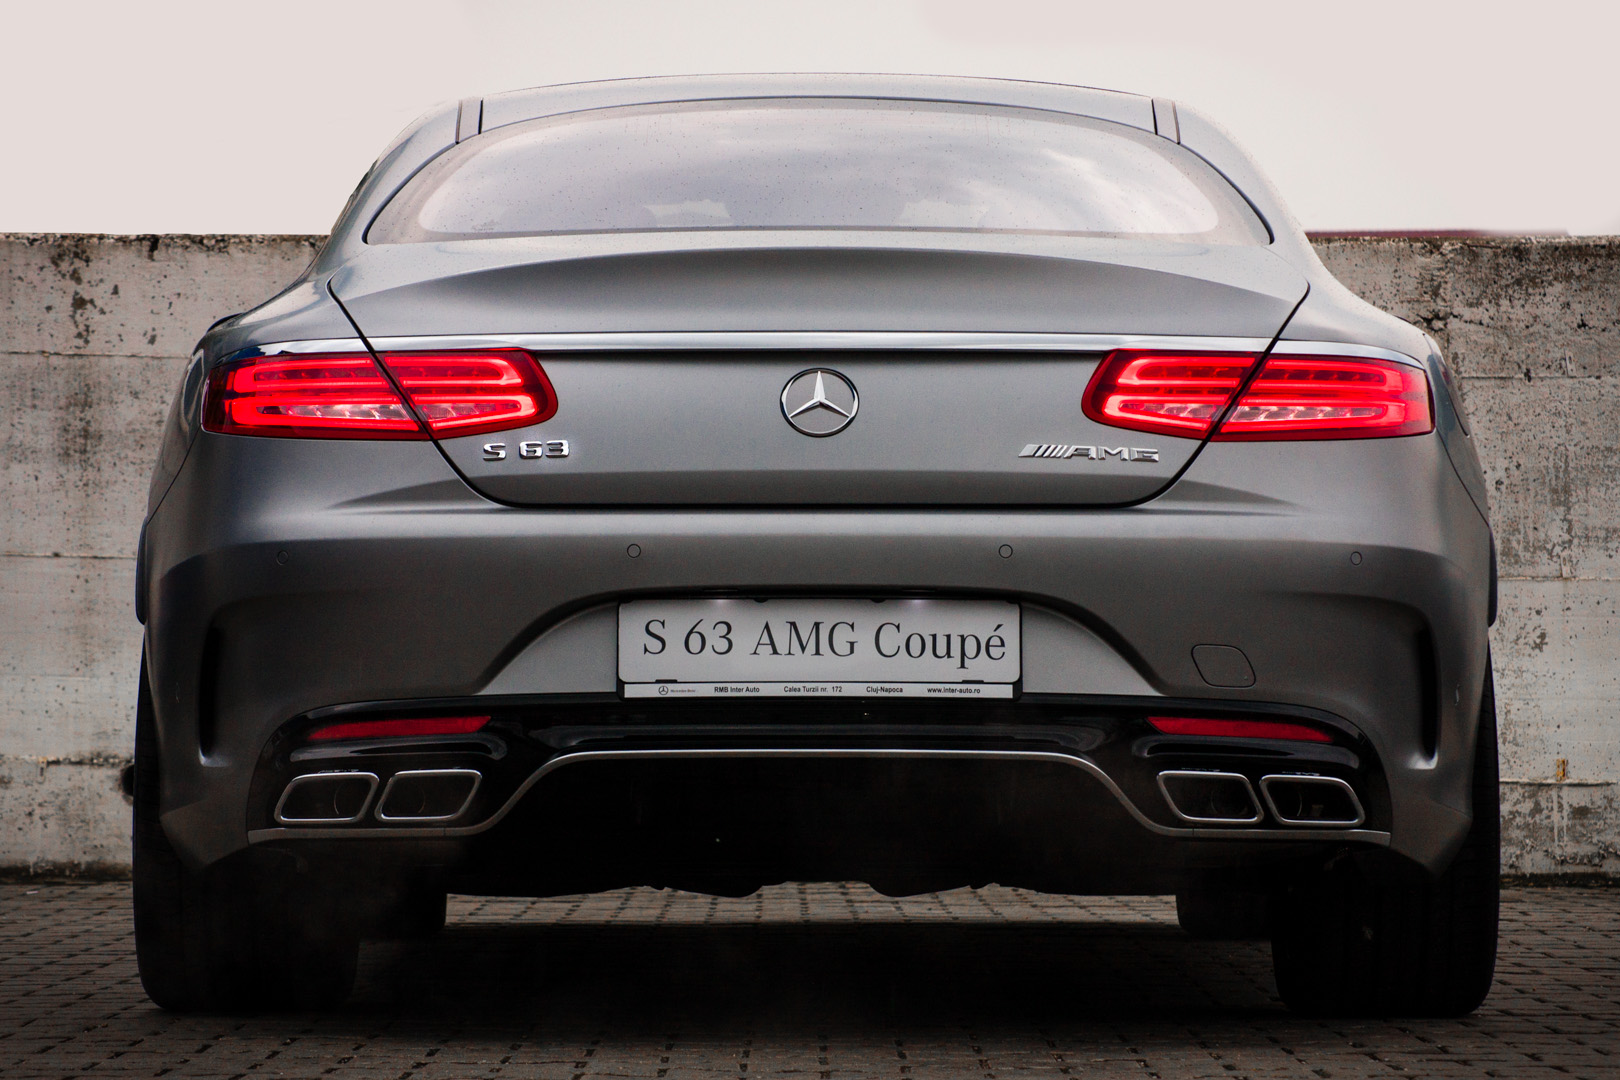
AFTER
The settings I applied in Lightroom for the outdoor images are quite similar. In the Basic Develop module, I cranked up the contrast. Quite a bit. Since shooting RAW produces the flatest image possible, I like to “boomify” my images by adding contrast to the image. The exposure slider usually remained untouched, nailing it quite well at the time of shooting. Highlights and shadows were adjusted, well, depending on the image, but they stayed quite close to default. Another mean I used to create contrast is reduced blacks and also, one thing I do really often, I move the Whites slider quite a bit to the right.
The car I was photographing was silver. Luckily, this isn’t really a color… not magenta, not green, not red, no color. This made it really easy to create a desaturated look because I simply draged down the vibrance slider and… voila. This way I also managed to make distractions a lot less noticeable( see image below).
BEFORE
AFTER
Now, if I had to photograph a brightly colored car, things would have changed a little. If the car’s color was different from the background color, I would go into the advanced colors in Lightroom and desaturate the ones that don’t affect the car. If, though, we would have, let’s say a blue car with a blue building in the background, desaturating the building would desaturate the car, which we don’t want. This would require a little more work, since I’d bring it in Photoshop, create a selection of the car, reverse it, convert it into a layer mask and THEN desaturate the background. A lillte more time consuming, ah?
For the inside shots, things weren’t that different actually. The one big difference is in color, since I usually added llike +5 of vibrance max, but usually I created the boomification effect was more a thing of playing with the contrast.
BEFORE
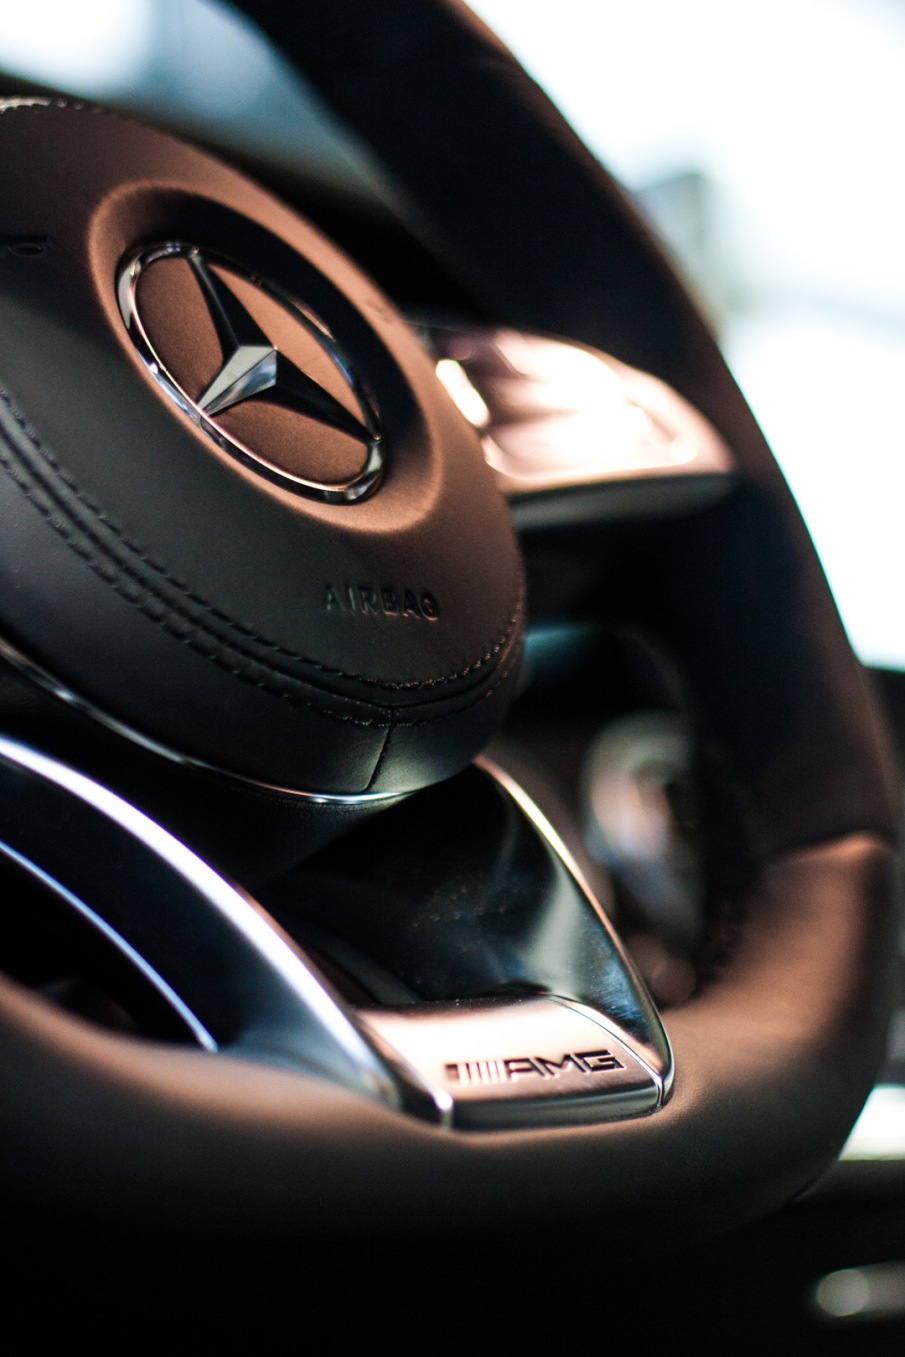
AFTER
Ok, so that’s the color and light side of the images. But there is more. We only had a busy parking lot to shoot in, and we couldn’t position the car so that there were NO other cars showing up, so I tried to find the cleanest background possible. Then, I had to let the Photoshop magic begin 🙂
For a few of my best pictures I also did some sort of doging and burning in PS. Here’s how I did it. I brought up 2 curves layers, one I added exposure through curves and on one I substracted. Than I applied layer masks on those adjustment layers and inverted them so that nothing was visible. Last I took a soft brush with a flow in between 10 and 20 % and painted over the darker parts of the image and over the highlights in order to accentuate some specific shapes and create contrast in specific areas.
BEFORE
AFTER
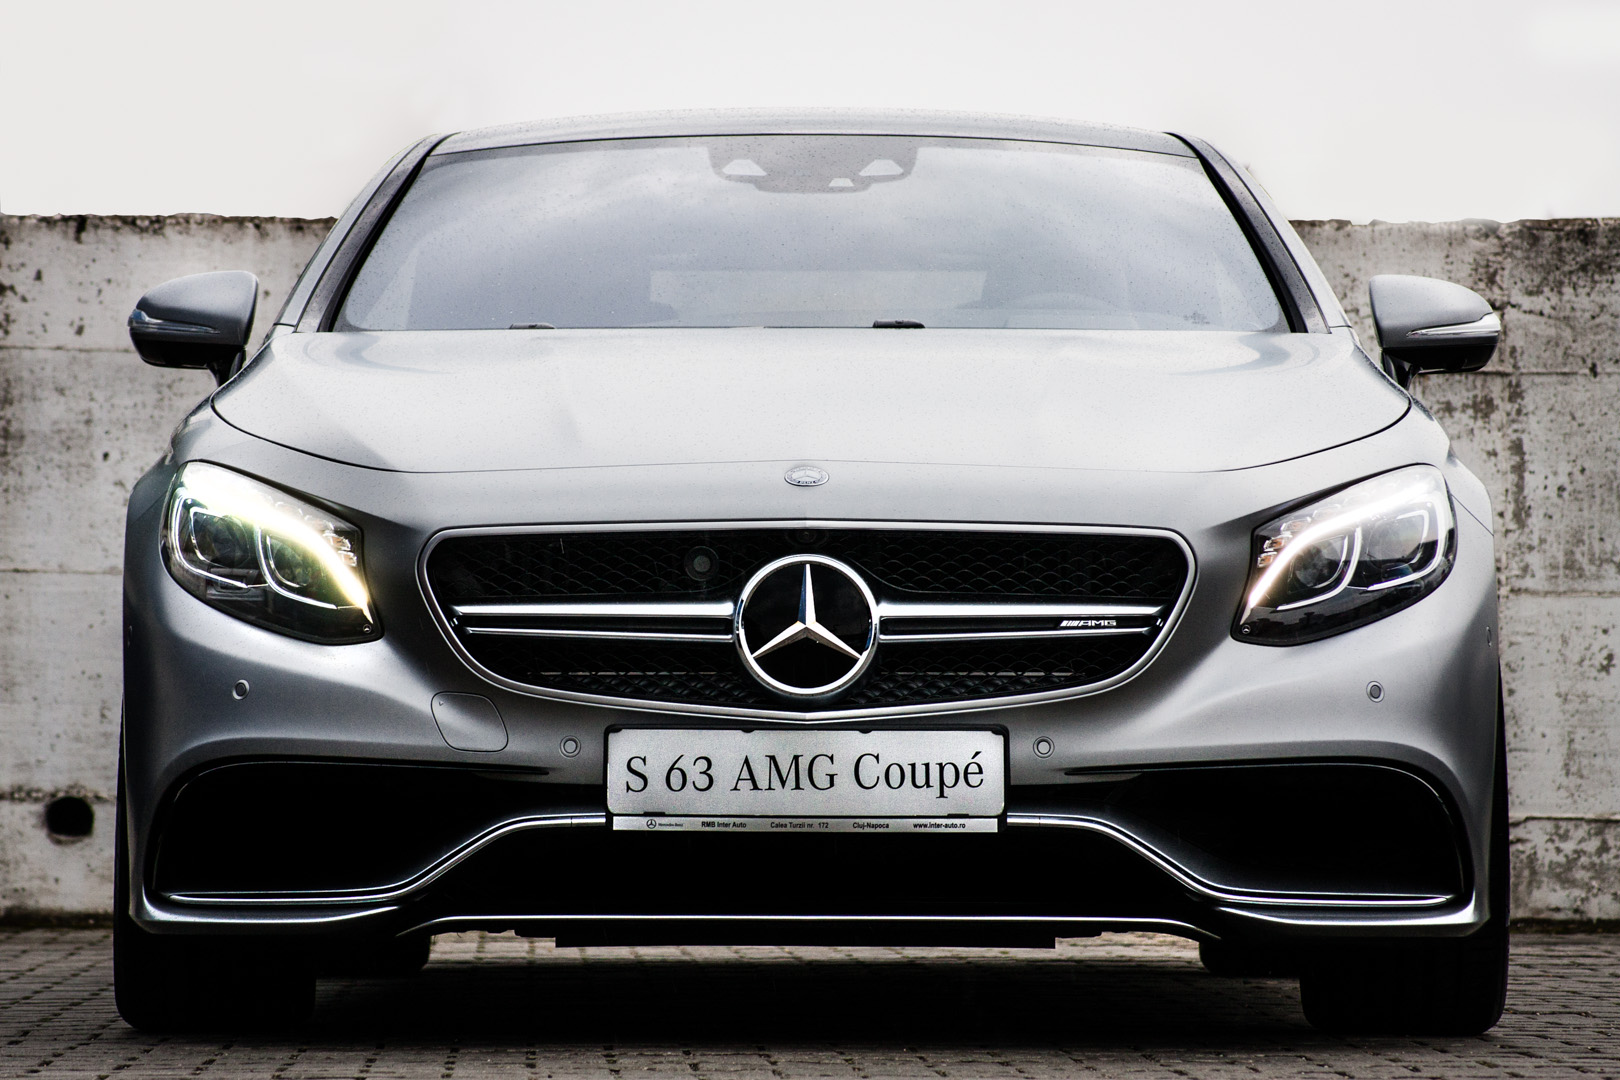
I basicaly cloned out the cars in the background and also cleaned up the sky. Damn, Photoshop can be such a handy tool! Finally, here are some more before/after pictures!
BEFORE
AFTER
BEFORE

AFTER

